Paint film protection has become an essential element in preserving the pristine appearance of vehicles. However, the effectiveness of the film greatly depends on the quality of installation. Achieving a flawless and seamless finish requires skill, precision, and adherence to best practices. In this article, we will explore the key guidelines and techniques that ensure successful installation of paint film protection, allowing your cherished ride to enjoy maximum protection and aesthetics.
Prepare the Surface
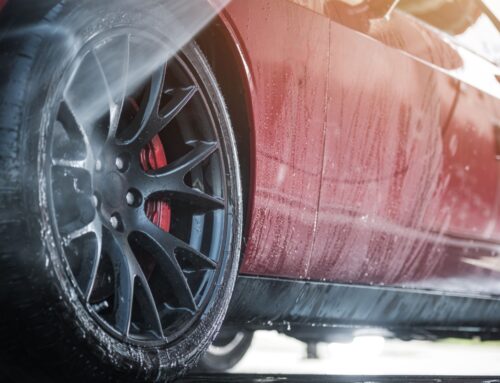
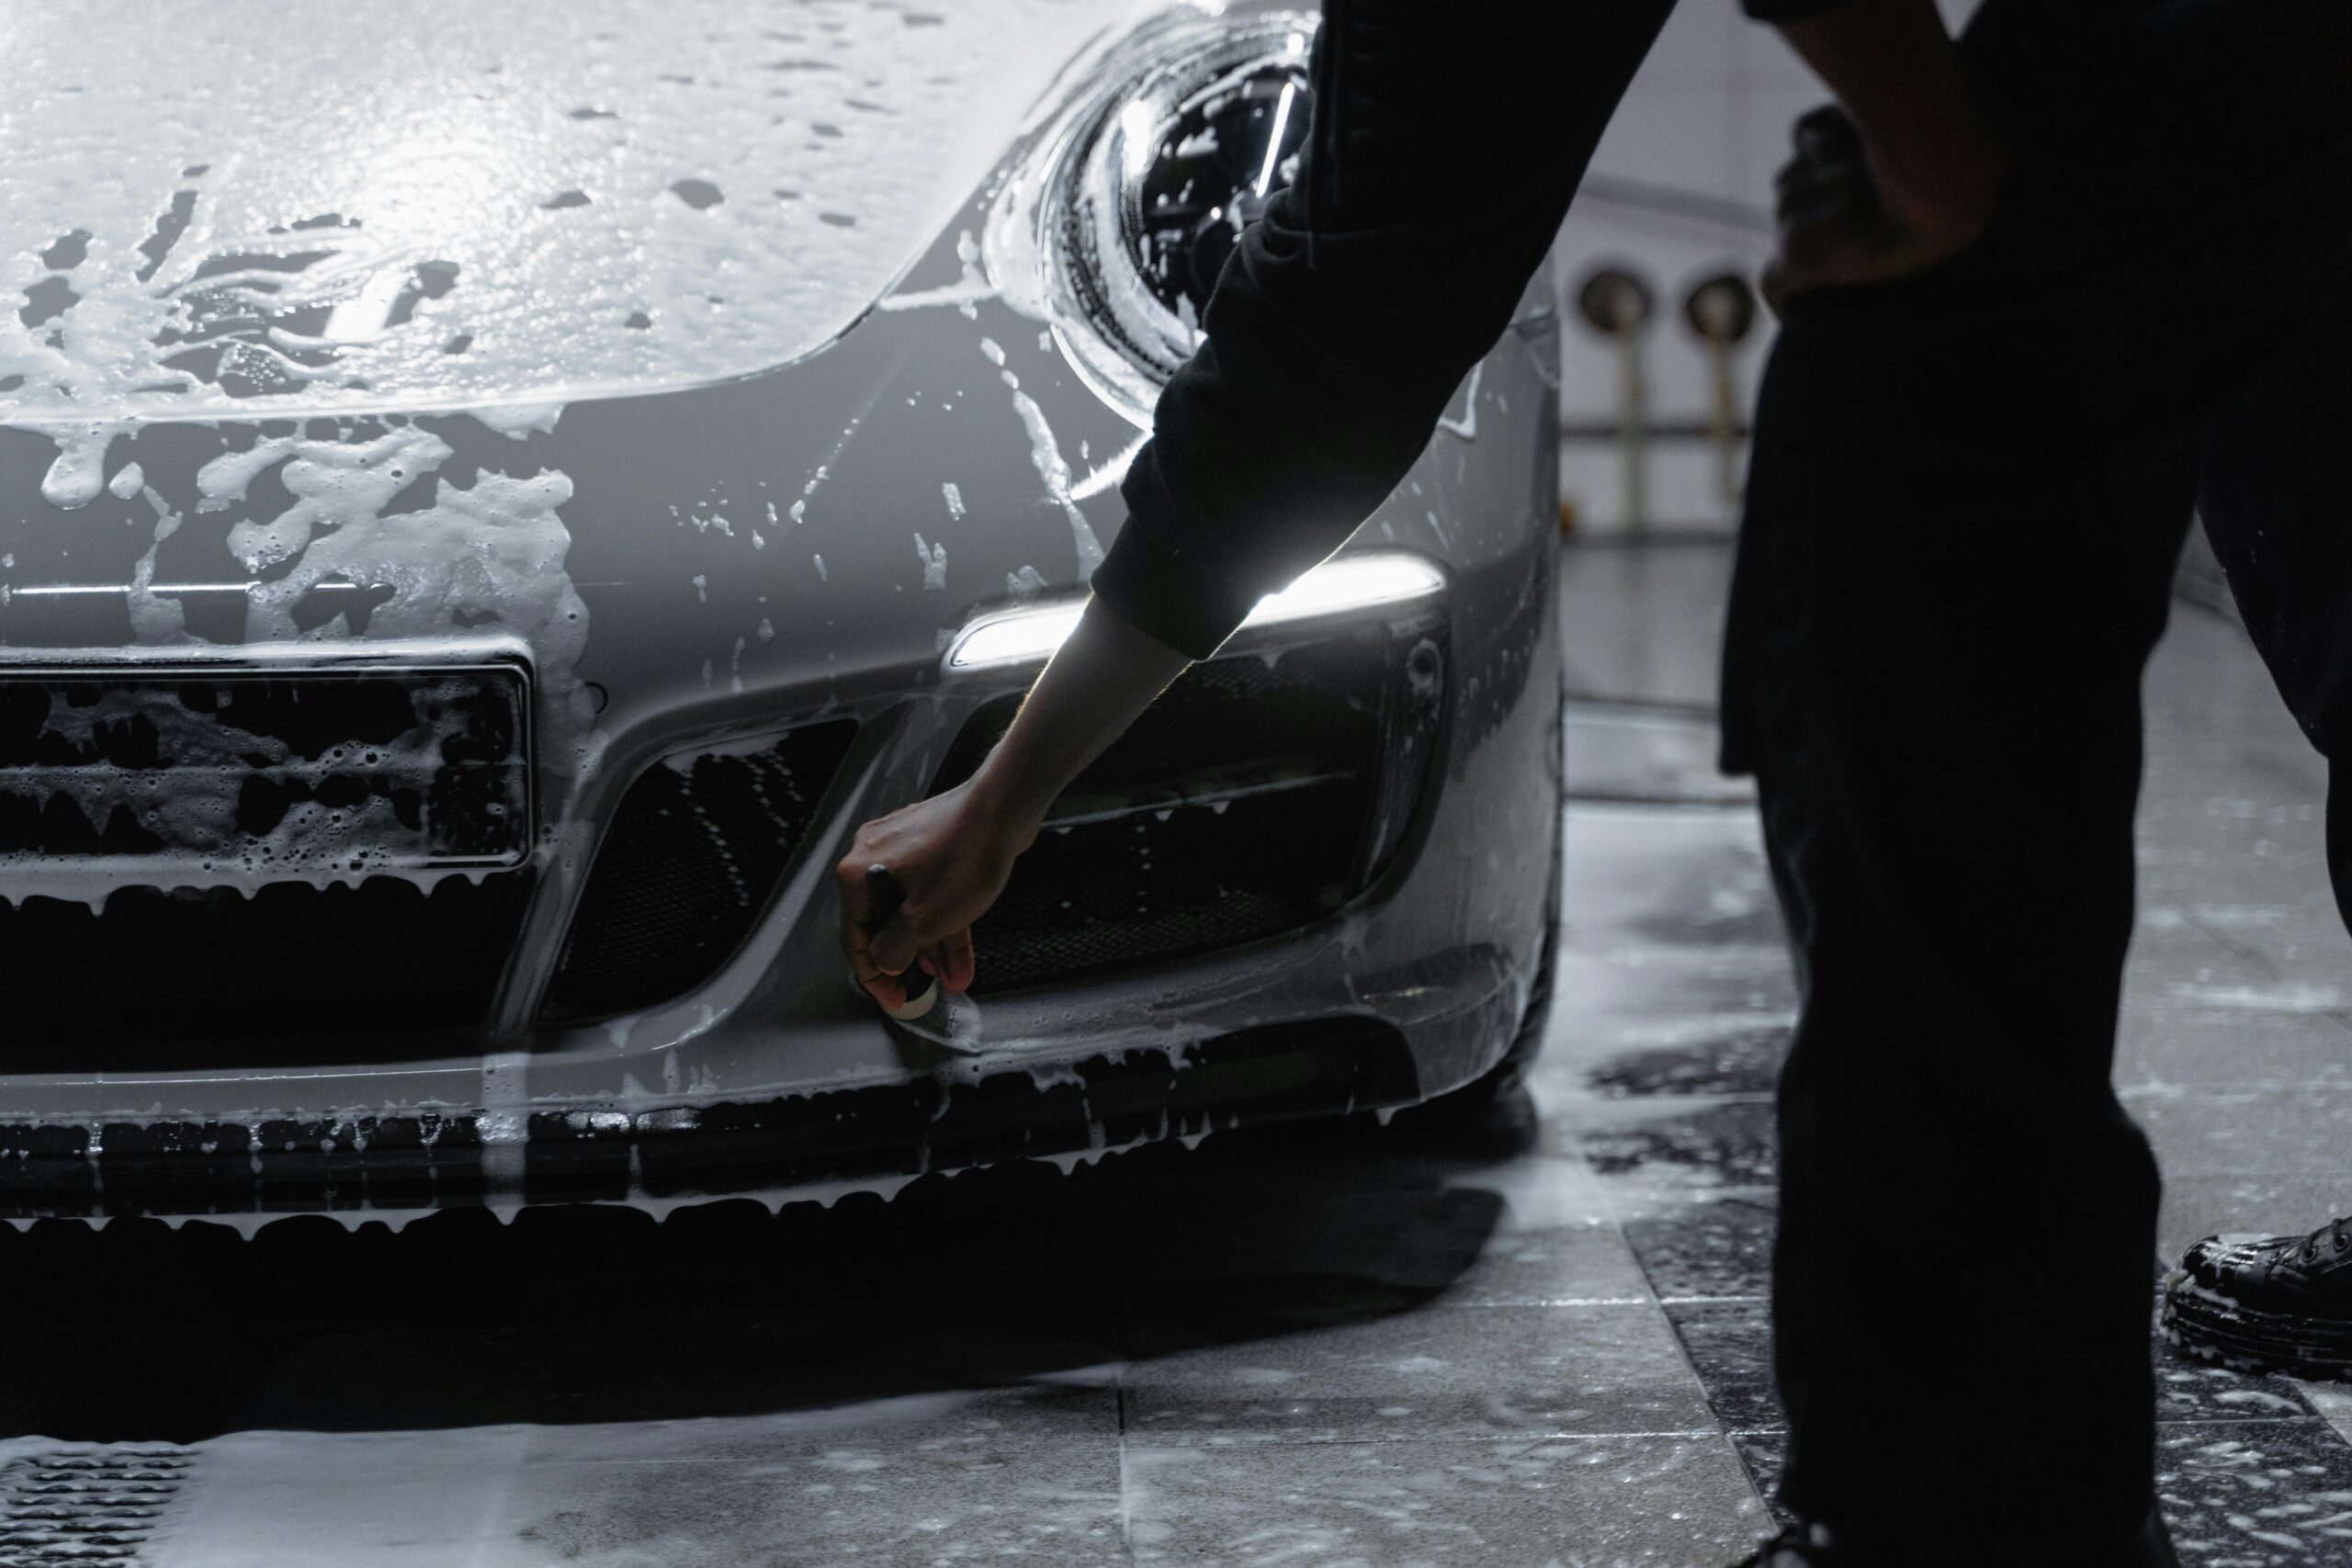
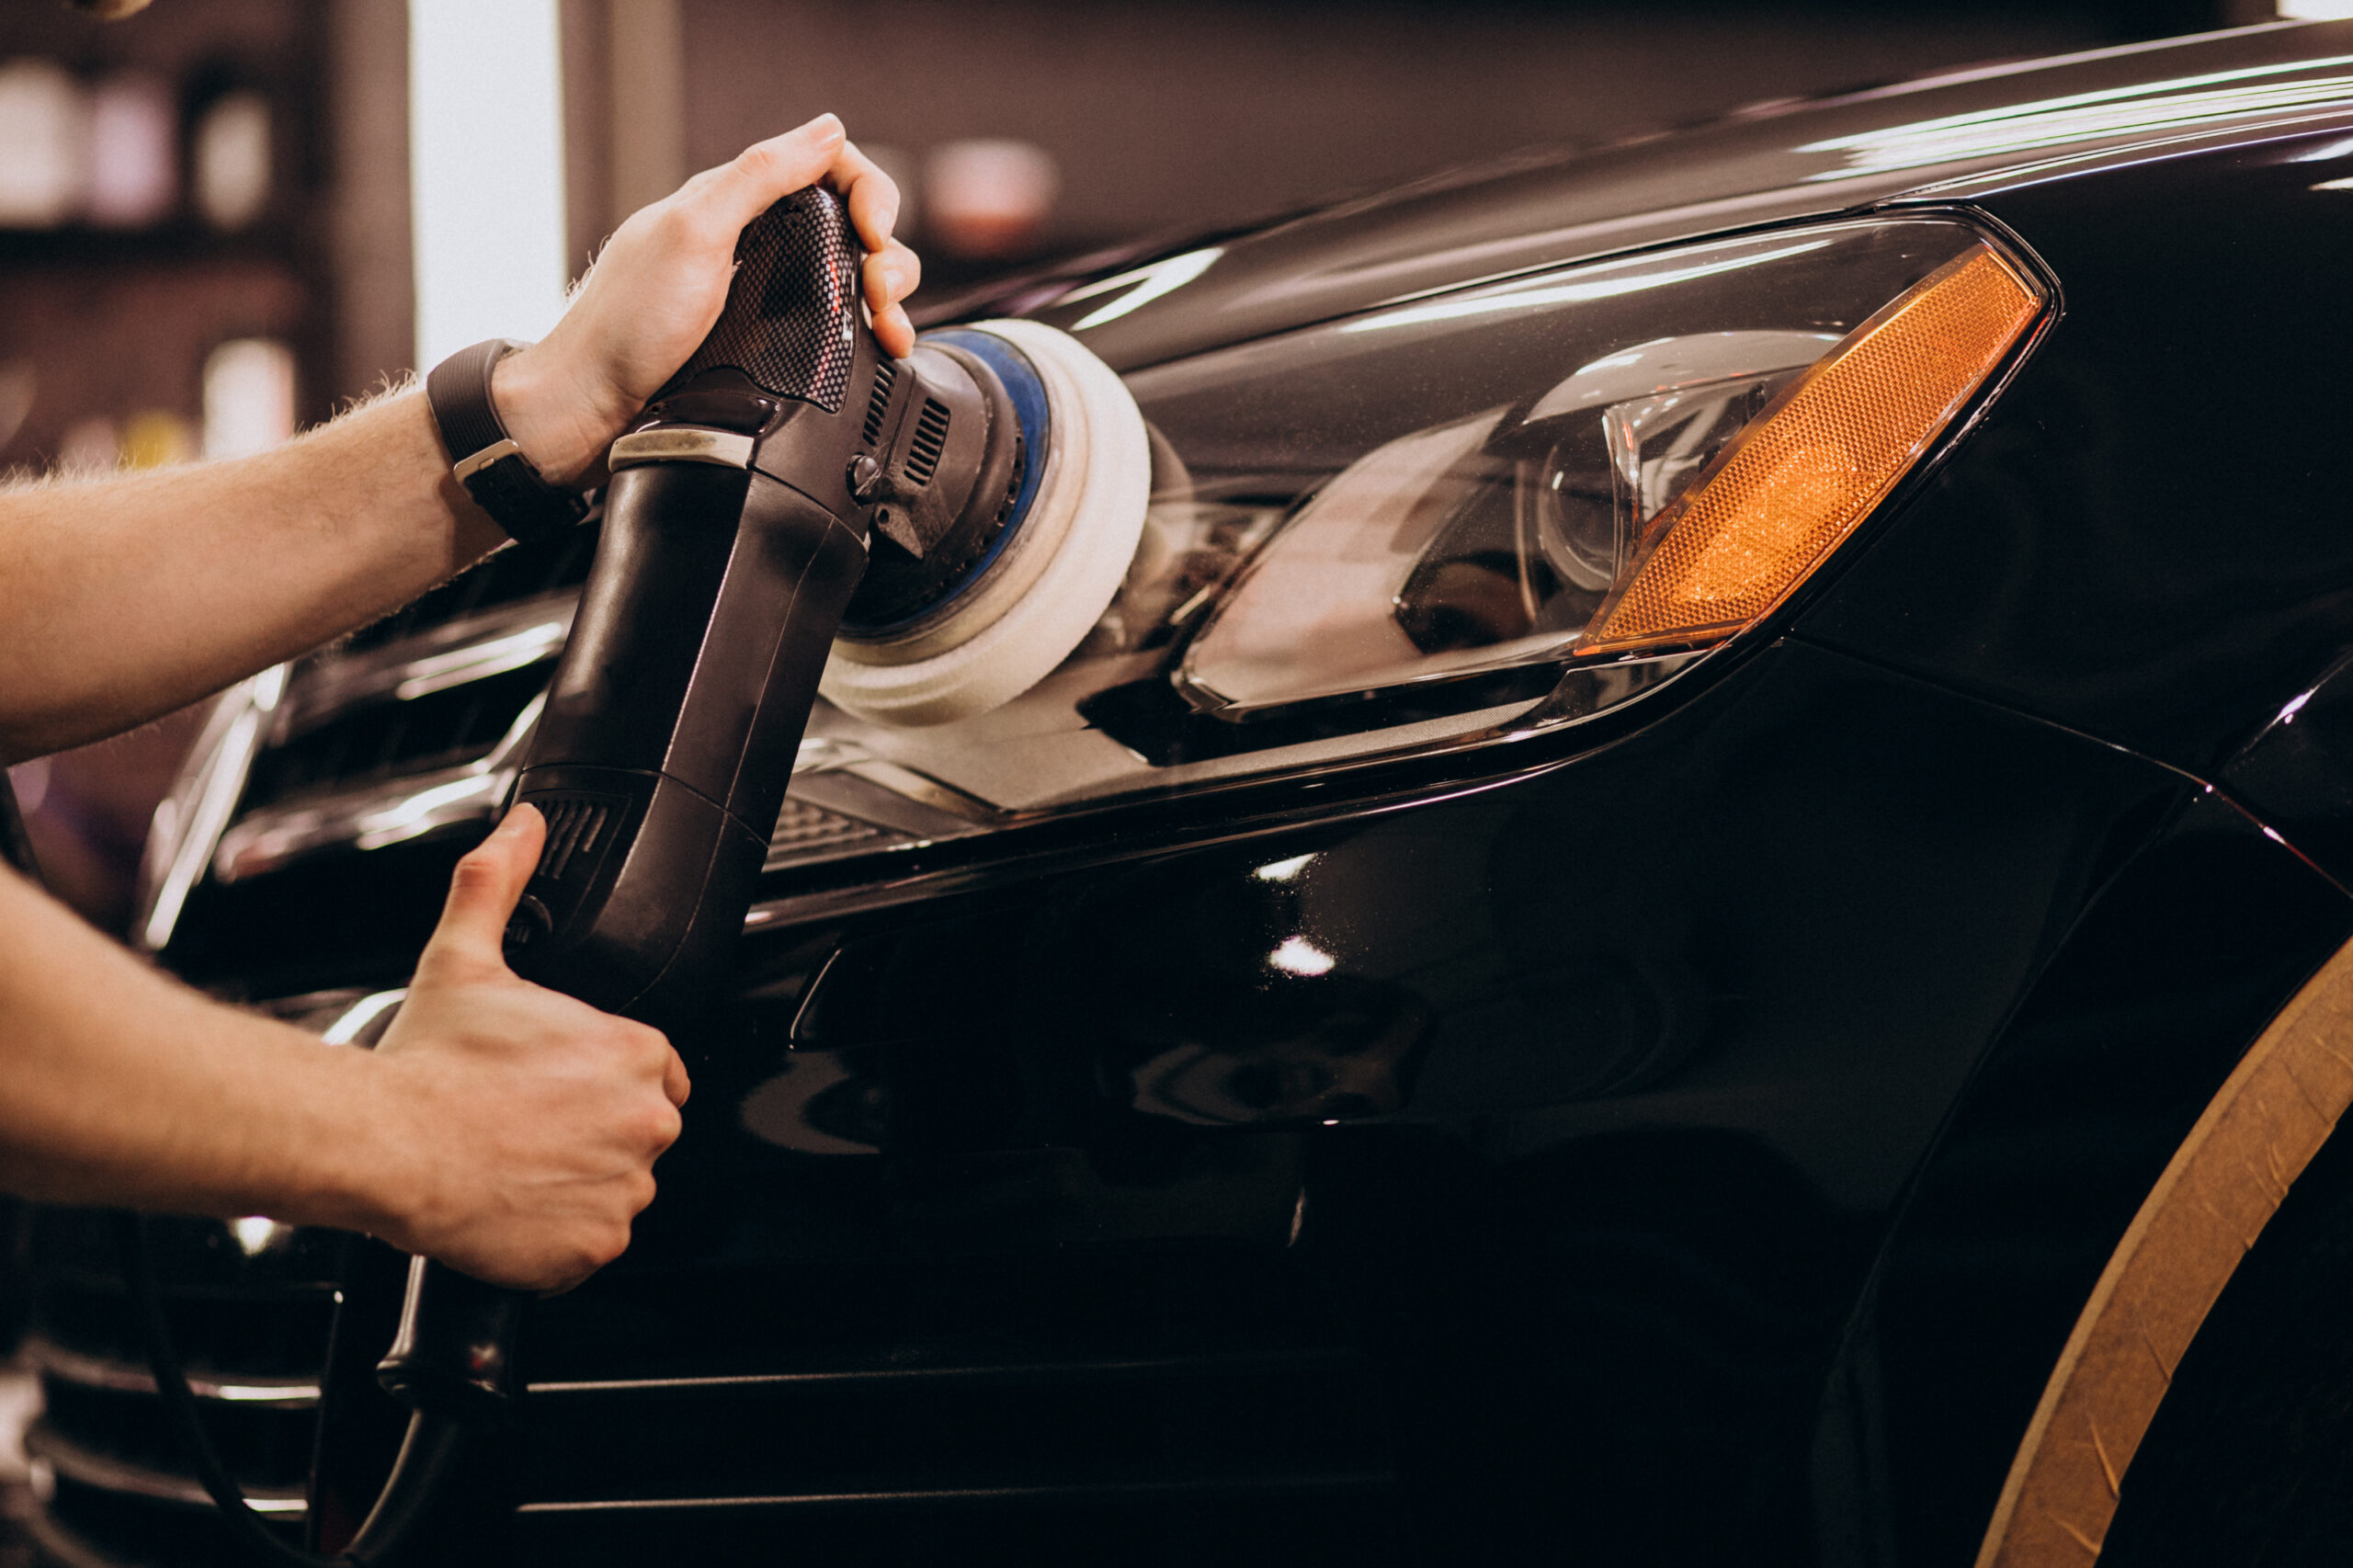
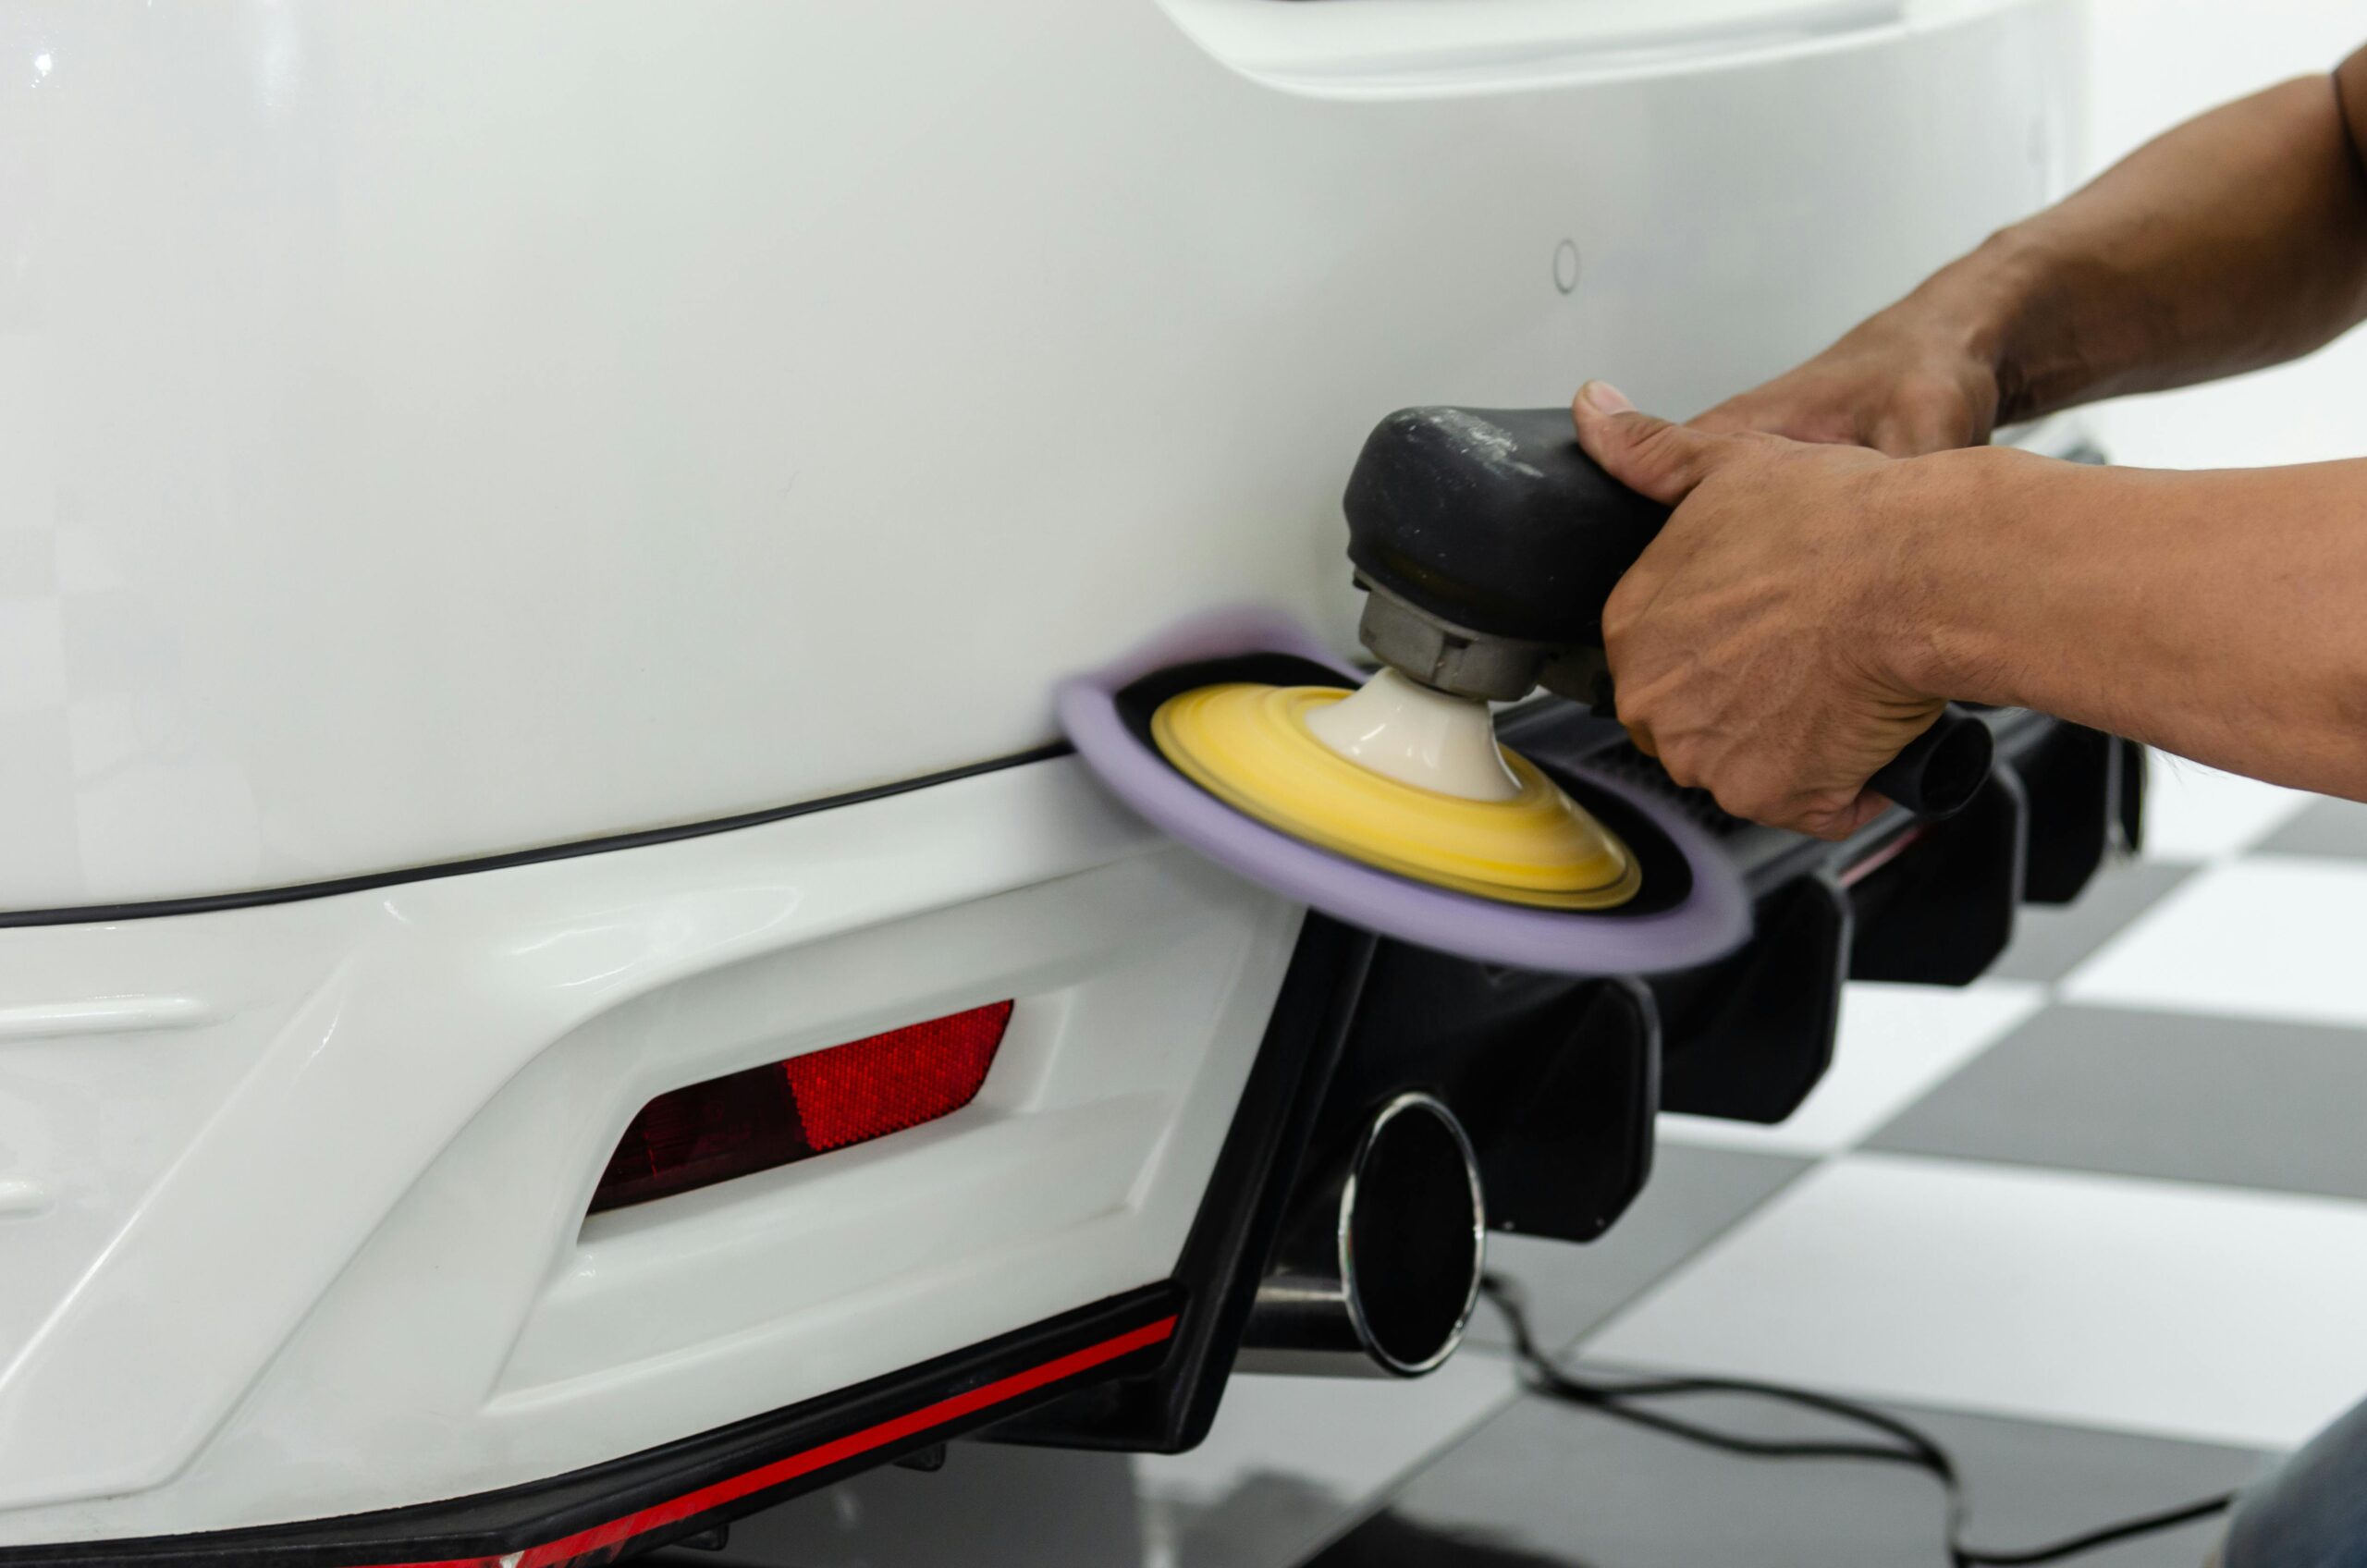
Before installing paint film protection, thorough preparation of the vehicle’s surface is crucial. Start by washing the car meticulously to remove dirt, debris, and contaminants. Follow this up with a clay bar treatment to eliminate any embedded particles. Next, perform a paint correction process to address any imperfections, such as swirl marks or scratches, ensuring a smooth surface for film application. Finally, use an alcohol-based solution to clean the area, removing any residue or oils that could hinder adhesion.
Choose the Right Environment
Installing paint film protection requires an environment free from dust, wind, and extreme temperatures. Ideally, conduct the installation in a controlled indoor space, such as a clean garage or professional installation facility. Ensure the area is well-lit to allow for proper visibility during the installation process. Avoid installing the film outdoors or in areas with high humidity, as moisture can negatively impact the adhesion and overall quality of the installation.
Precise Cutting and Trimming
To achieve a seamless and professional-looking finish, precise cutting and trimming of the paint film are paramount. Utilize pre-cut kits or computerized templates whenever possible to ensure accurate patterns that fit the specific make and model of the vehicle. Take your time during the cutting process, using sharp and clean blades to avoid jagged edges. Properly trimmed film will enhance the overall aesthetics while minimizing the risk of peeling or lifting.

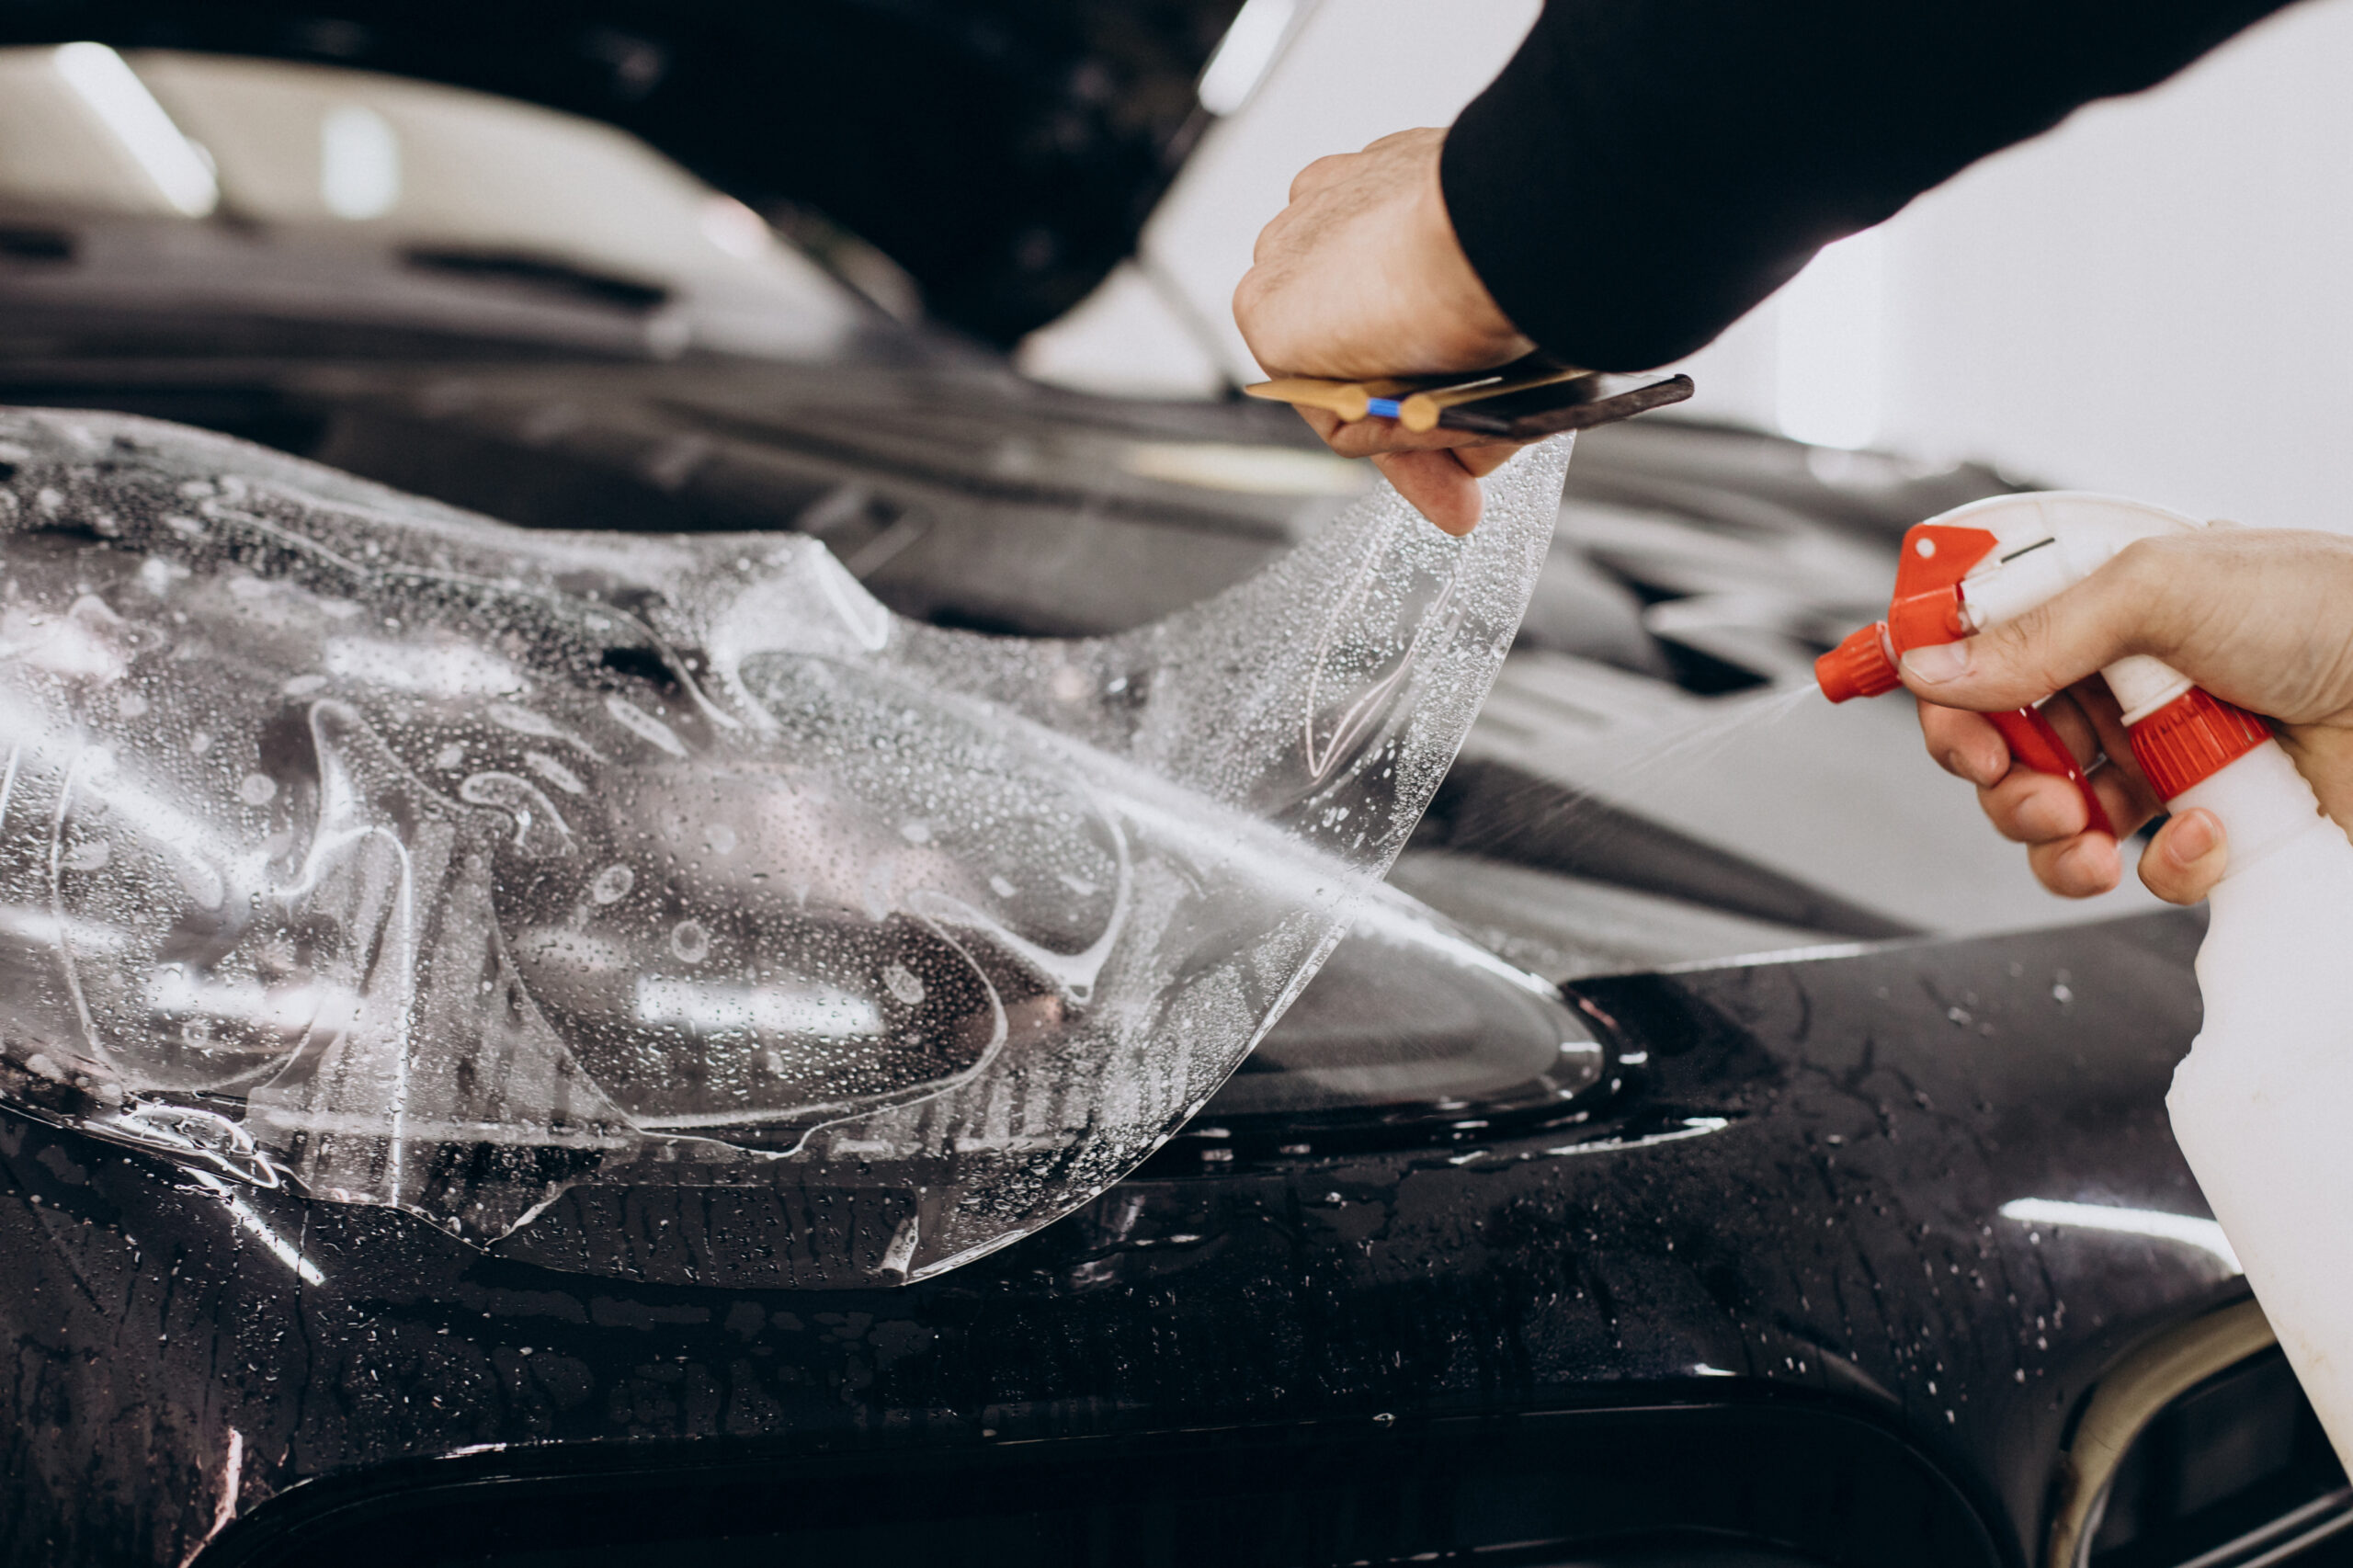
Mastering Installation Techniques
Installing paint film protection requires finesse and technique. Start by spraying a mild solution of soapy water on the surface to aid in repositioning the film during installation. Gently position the film on the desired area, using squeegees or soft rubber tools to remove air bubbles and excess water. Work methodically from the center towards the edges, ensuring a smooth and wrinkle-free application. Use heat guns or heat lamps to assist with conforming the film to complex curves and contours.
Post-Installation Finishing
After the film is applied, pay attention to post-installation finishing to achieve the best results. Use heat to activate the self-healing properties of the film, eliminating any minor scratches or imperfections. Perform a final inspection to ensure all edges are properly adhered and free of debris. Clean the installed film with a non-abrasive, alcohol-free solution to maintain its clarity and appearance. Provide appropriate care instructions to the vehicle owner, advising them on how to maintain and clean the protected surface.