Ceramic coatings have become increasingly popular in the automotive industry for their ability to provide long-lasting protection and enhance the appearance of vehicles. When properly installed, ceramic coatings create a durable barrier that shields the paintwork from environmental contaminants, UV rays, and minor scratches. To ensure optimal results and maximize the benefits of ceramic coating protection, it is essential to follow best practices during the installation process. In this article, we will explore the key steps and best practices for installing ceramic coating, helping you achieve flawless and effective protection for your vehicle.

Surface Preparation
The foundation of a successful ceramic coating installation lies in thorough surface preparation. Follow these steps to prepare the surface properly:
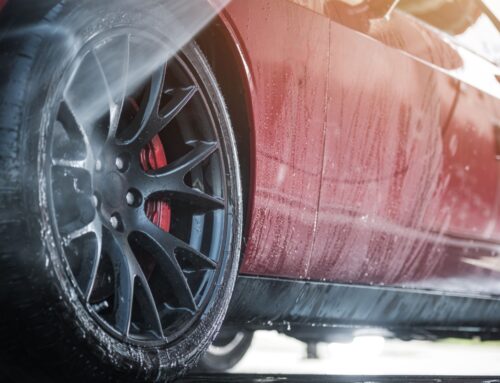
Wash and Decontaminate
Start by washing the vehicle with a high-quality car shampoo to remove dirt and grime. Next, use a clay bar or a decontamination product to remove embedded contaminants like tar, tree sap, or industrial fallout.
Paint Correction
If the paint has swirl marks, scratches, or other imperfections, consider performing paint correction before applying the ceramic coating. This process involves using abrasive compounds or polishing machines to restore the paintwork to a smooth and flawless condition.
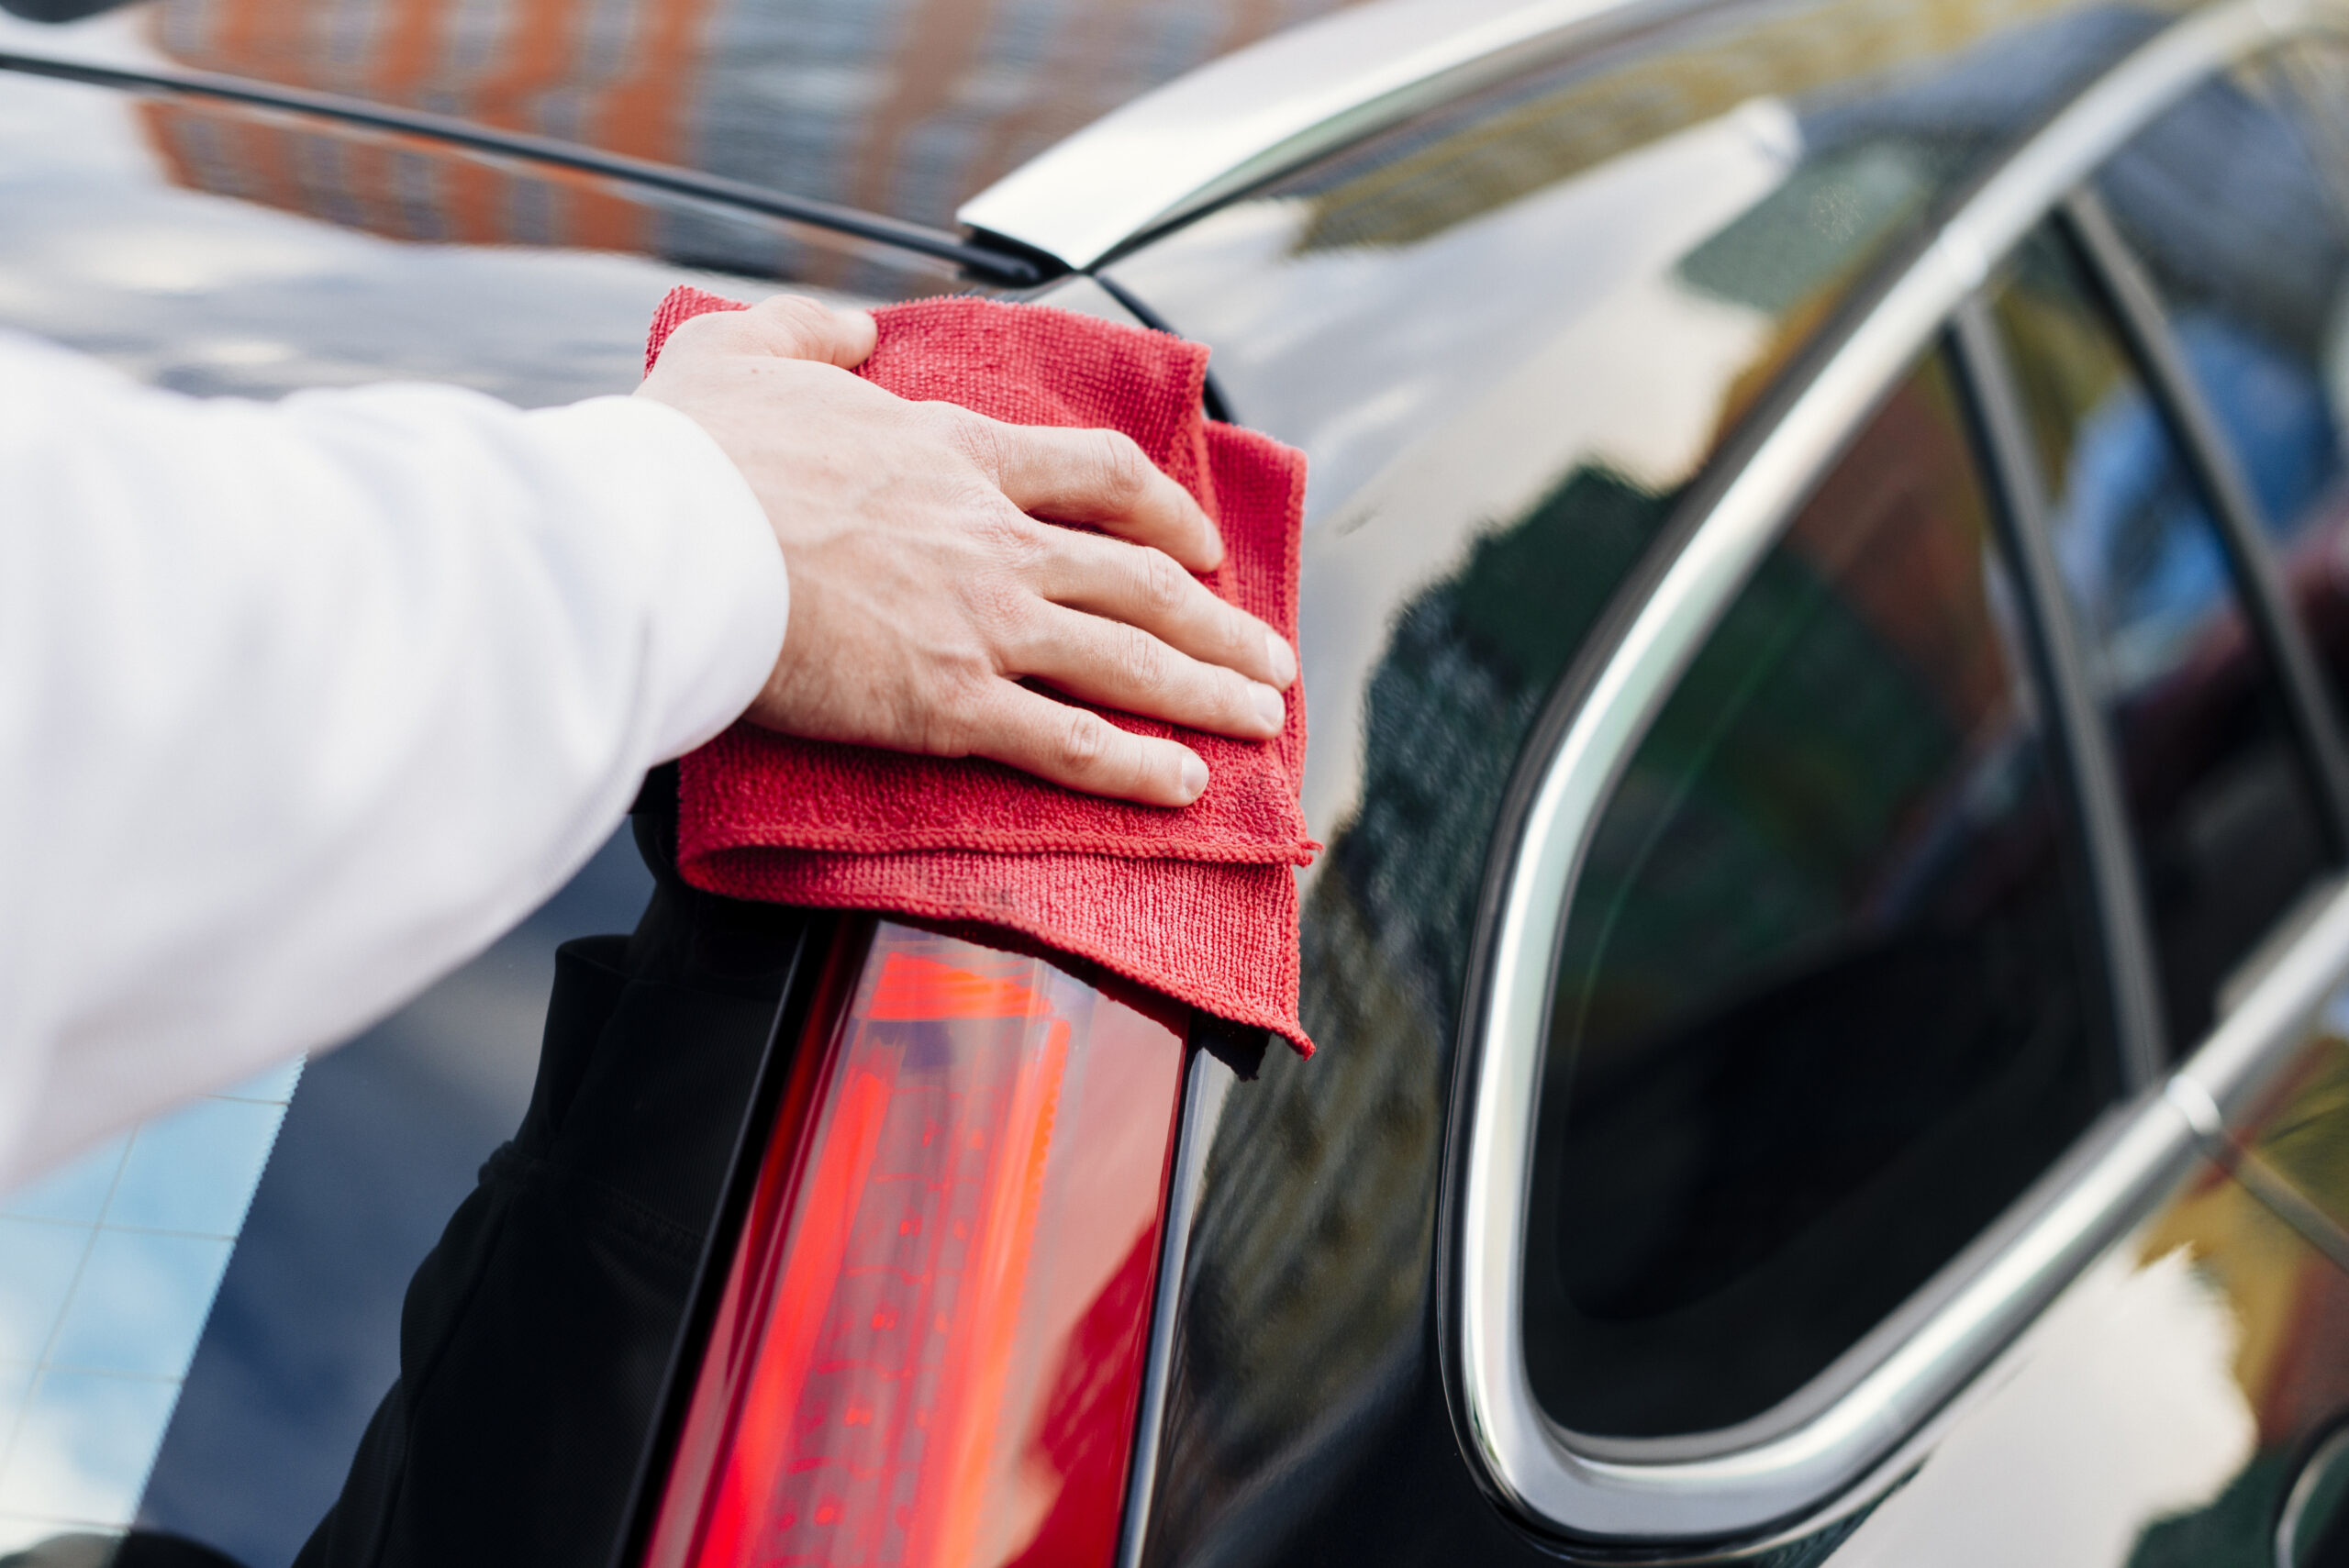
IPA Wipe-Down
Prior to applying the ceramic coating, wipe down the surface with an isopropyl alcohol (IPA) solution. This step removes any residue, oils, or silicones that could interfere with the bonding of the coating to the paint.
Application Techniques
To achieve optimal results when applying ceramic coating, it is important to follow these application techniques:
Work in Sections
Divide the vehicle into manageable sections and apply the ceramic coating to one section at a time. This ensures that the coating is evenly distributed and allows you to work more efficiently.
Thin and Even Layers
Apply the ceramic coating in thin and even layers using an applicator pad or microfiber cloth. Avoid applying too much product as it can lead to streaks, high spots, or uneven curing.
Crosshatch Method
When applying the ceramic coating, use a crosshatch technique to ensure complete coverage. Apply the coating in horizontal lines, followed by vertical lines, to ensure that every inch of the surface is covered.
Curing and Maintenance
After applying the ceramic coating, follow these guidelines for curing and maintenance:
Curing Time
Allow the ceramic coating to cure for the recommended duration as per the manufacturer’s instructions. This allows the coating to bond effectively with the paint and ensures optimal performance.
Avoid Contact with Water
During the initial curing period, avoid washing the vehicle or exposing it to rain. Water can interfere with the curing process and compromise the effectiveness of the coating.
Regular Maintenance
To prolong the lifespan of the ceramic coating, maintain a regular maintenance routine. Use pH-neutral car wash soaps and avoid abrasive cleaners or brushes that can potentially damage the coating. Additionally, consider periodic maintenance treatments such as ceramic coating toppers or spray sealants to enhance the protection and longevity of the coating.